Run Kubernetes on your Raspberry Pi cluster with k3s
Some fun facts about Kubernetes that you probably didn't know, caveats when running it on Raspberry Pi, and how you can set up your own cluster with k3s.

Kubernetes or k8s in short (first and last letters, with 8 letters in-between), is all the hype in 2020 in the container orchestration space.
If you have been living under a rock in the container orchestration space, here's what Kubernetes is:
Kubernetes is an open source container orchestration system for automating application deployment, scaling and management. It was originally designed by Google and is now maintained by the Cloud Native Computing Foundation. (Wikipedia)
In plain English, Kubernetes is a system that runs on a cluster, and provides a framework through which the user deploys applications. Kubernetes provides useful features that make deploying high-availability apps much easier, such as multiple replicas of the same app, support for load-balancers natively as well as horizontal and vertical autoscaling.
Kubernetes (κυβερνήτης) stands for "helmsman" or "pilot" or "governor" in Greek which makes perfect sense as it is meant to be a framework that governs and steers clusters.
Caveats of Kubernetes on Raspberry Pi
There are a few things that you must be aware of before embarking on this path of running Kubernetes on resource-constrained hardware like the Raspberry Pi.
Compatibility issues
Kubernetes will not work on the Raspberry Pi Zero and 1. Raspberry Pi Zero and 1 have processors that adopt the armv6 architecture, while the Raspberry Pi 2 adopts the armv7 architecture and the Raspberry Pi 3 and 4 adopts the armv8 architecture.
The issue is that armv6 support has officially been dropped by Kubernetes since v1.6 as detailed in the issue here:
 kubernetes
This move was made mainly because most of the community is slowly but surely making the shift towards armv7 and arm64. armv6 docker images are becoming rarer, and in certain more prominent cases like Debian, they have stopped publishing new Docker images for armv6 entirely.
This is the main reason why I retired my Octopi cluster that I built 2 years back. I did try to get Kubernetes running on the Raspberry Pi 1, but I found that it was more trouble than it was worth in the end as I had to compile my own armv6 binaries from the Kubernetes source code.
Kubernetes will only work on the Raspberry Pi 2 and newer models, barring hardware requirements. Basically any SBC on the armv7 architecture and later will work.
Memory requirements
For datastore, Kubernetes uses etcd, a distributed key-value store that's robust but unfortunately requires quite a bit of resource to run, at least in the context of SBCs. The recommended amount of memory for each node is 8GB, and that amount of memory is unheard of before the Raspberry Pi 4B 8GB model came along.
Storage bandwidth
In the storage aspect, etcd is rather I/O intensive. Being a distributed key-value store, etcd uses a consensus protocol that depends on storing metadata to a log, which requires a majority of cluster members to write every request to disk. Additionally, etcd also incrementally checkpoints its state to disk in order to keep the log size small, which means more writes.
Given the single USB2.0 bus bottleneck described in my earlier cluster build, in the Raspberry Pi models 3 and earlier, this amount of I/O demand may prove to be too much for the meager 480mbps unidirectional bandwidth of the USB2.0 bus, shared between the SD card, ethernet port and USB ports.
Storage latency
Another point of concern is that etcd is highly sensitive to disk-write latency. Writes that take too long may result in heartbeat time outs, triggering an election where a new cluster leader is elected, thus potentially hurting the stability of the cluster. etcd requires a minimum of 50 sequential IOPS (Input/Output Operations Per Second), and recommends 500 sequential IOPS for heavily loaded clusters.
Even when using a Raspberry Pi 4, where the SD card no longer shares the same bus as the ethernet and USB ports, the I/O bottleneck shifts to the SD Card itself, where even on the best SD Cards such as the Sandisk Extreme Pro UHS-1, 30 IOPS is the best I could get.
$ fio --loops=5 --size=500m --filename=fiotest.tmp --stonewall --ioengine=libaio --direct=1 --name=Seqwrite --bs=1m --rw=writeRunning the fio benchmarking tool on a Sandisk Extreme Pro on a Raspberry Pi 4B 4GB
Seqwrite: (groupid=1, jobs=1): err= 0: pid=15473: Sat Jul 25 19:24:57 2020
  write: IOPS=30, BW=30.9MiB/s (32.4MB/s)(2500MiB/81017msec); 0 zone resets
    slat (usec): min=1686, max=108519, avg=2734.66, stdev=2218.13
    clat (msec): min=22, max=430, avg=29.64, stdev=19.79
     lat (msec): min=27, max=433, avg=32.38, stdev=20.11
    clat percentiles (msec):
     |  1.00th=[   26],  5.00th=[   26], 10.00th=[   27], 20.00th=[   27],
     | 30.00th=[   27], 40.00th=[   27], 50.00th=[   27], 60.00th=[   27],
     | 70.00th=[   27], 80.00th=[   28], 90.00th=[   30], 95.00th=[   36],
     | 99.00th=[  110], 99.50th=[  155], 99.90th=[  271], 99.95th=[  426],
     | 99.99th=[  430]
   bw (  KiB/s): min= 1868, max=33635, per=91.04%, avg=28768.16, stdev=7241.09, samples=161
   iops        : min=    1, max=   32, avg=27.54, stdev= 7.00, samples=161
  lat (msec)   : 50=97.80%, 100=0.40%, 250=1.60%, 500=0.20%
  cpu          : usr=0.56%, sys=6.91%, ctx=6184, majf=0, minf=21
  IO depths    : 1=100.0%, 2=0.0%, 4=0.0%, 8=0.0%, 16=0.0%, 32=0.0%, >=64=0.0%
     submit    : 0=0.0%, 4=100.0%, 8=0.0%, 16=0.0%, 32=0.0%, 64=0.0%, >=64=0.0%
     complete  : 0=0.0%, 4=100.0%, 8=0.0%, 16=0.0%, 32=0.0%, 64=0.0%, >=64=0.0%
     issued rwts: total=0,2500,0,0 short=0,0,0,0 dropped=0,0,0,0
     latency   : target=0, window=0, percentile=100.00%, depth=1
Results of the fio benchmark for Sequential writes
Despite all the concerns highlighted, there's hope for running your own Kubernetes cluster.
k3s, 5 less than k8s
After some light excavation on the internet, I found k3s, a lightweight implementation of Kubernetes meant to be run on resource-constrained edge devices.
rancher
We wanted an installation of Kubernetes that was half the size in terms of memory footprint. Kubernetes is a 10-letter word stylized as K8s. So something half as big as Kubernetes would be a 5-letter word stylized as K3s. There is no long form of K3s and no official pronunciation. (Rancher)
The main difference that sets k3s apart from k8s is that k3s is capable of using a datastore other than etcd, hence solving most of the resource-related issues shown above. By default, k3s runs on an embedded SQLite database in the main node. If you are extremely concerned about availability of the cluster, k3s can also use PostgreSQL, MySQL and MariaDB which allow for multi-master setups.
That said, even though there are high-availability datastore options, as always, when it comes to self-hosting, you must be prepared for a complete loss of the cluster. Over the course of 2 years running the cluster, I have had to reinitialize the cluster 3 times. The first was due to a bug in k3s with ipv6 nodes back when it was in its early stages, the second was due to SD card failure and the third was due to a corrupt SQLite database from power loss.
How to install k3s
Getting down to the original business of this post, k8s masters and workers are termed servers and agents respectively in k3s, so I will refer to them as such from hereon.
I assume that you have already built a cluster of Raspberry Pi 3 or newer, and provisioned the nodes with Raspberry Pi OS, Hypriot or Armbian. If you haven't, do check out my previous post on how I built my 28-core Kraken cluster consisting of 7 Raspberry Pi 3Bs.
There are 2 ways to install k3s, manually whereby you SSH into each node to run the commands, or with Ansible, for which I have provided the playbook and role for. For first timers, I'd recommend going through the manual installation process to understand what goes on in each step and perform customizations.
Installing k3s manually
Installation steps
- Installing k3s on the server node
- Installing k3s on the agent nodes
- Connecting to the cluster from your computer
Install k3s on the server node
Installing k3s on the server node is as simple as running a single command:
$ curl -sfL https://get.k3s.io | sh -This command will install k3s on the machine as the server node. This command also installs a couple of other apps that help you get started with the cluster such as CoreDNS, Traefik Ingress Controller and a Service Load Balancer. The exact specifications of those applications can be found here.
Personally, I'd prefer to deploy my own ingress controller and load balancer, keeping the experience as close as vanilla k8s as possible. This can be achieved using the following command:
$ curl -sfL https://get.k3s.io | sh - --no-deploy traefik --no-deploy servicelbOther options to the k3s installation script can be found here:

Install k3s on the agent nodes
Agents can be installed with the following command:
$ curl -sfL https://get.k3s.io | \
  K3S_URL=https://myserver:6443 \
  K3S_TOKEN=mynodetoken \
  sh -
Replace myserver with the IP address or hostname of the k3s server that was initialized earlier, and mynodetoken with the value found in /var/lib/rancher/k3s/server/node-token on the server node.
Connecting to the cluster from your computer
One of the really useful features of Kubernetes is that you need not SSH into the master node in order to issue commands to or create resources on the cluster. The kubectl command only requires credentials and the endpoint through which it can access the cluster.
Install kubectl with homebrew on MacOS.
$ brew install kubectlFor those on other operating systems, do refer to the official install guide for instructions specific to your OS.
Download the credentials from /etc/rancher/k3s/k3s.yaml into your machine.
$ scp myserver:/etc/rancher/k3s/k3s.yaml ~/.kube/configOpen the downloaded file ~/.kube/config, search for the line server: https://127.0.0.1:6443 and replace 127.0.0.1 with the hostname of the master node.
Installing k3s with Ansible
Ansible simplifies much of the installation process, not to mention, helps with getting the cluster back online quickly and predictably after a catastrophic failure.
I have written an Ansible role to install k3s, and I use that same role every time I provision a new node in my cluster. You can find my k3s ansible role in my Github repository here:
 ikaruswill
After cloning my repository, ensure that you have Python 3 and Ansible installed. modify the inventory.yml to include the hostnames of all the nodes in your cluster under the hosts key, then run the following command:
$ ansible-playbook k3s.ymlChecking your installation
On the server node, verify that the installation was successful and that the agents have joined the cluster successfully.
$ sudo kubectl get nodes
NAME   STATUS                     ROLES    AGE    VERSION
k6     Ready                      <none>   109d   v1.18.6+k3s1
k4     Ready                      <none>   109d   v1.18.6+k3s1
k7     Ready                      <none>   109d   v1.18.6+k3s1
k2     Ready                      <none>   109d   v1.18.6+k3s1
l2     Ready                      <none>   109d   v1.18.6+k3s1
l1     Ready                      <none>   28h    v1.18.6+k3s1
k1     Ready                      master   109d   v1.18.6+k3s1
k3     Ready                      <none>   109d   v1.18.6+k3s1
l4     Ready                      <none>   23d    v1.18.6+k3s1
k5     Ready                      <none>   109d   v1.18.6+k3s1
l3     Ready                      <none>   96d    v1.18.6+k3s1
An example of the output you should see
If you see this output, that means you have successfully set up your own Kubernetes cluster. Congratulations, you now have your very own functioning Kubernetes cluster, ready to accept deployments!
Optional taint
Unlike k8s, the master node here is eligible to run containers destined for worker nodes as it does not have the node-role.kubernetes.io/master=true:NoSchedule taint that's typically present.
I have a cluster of 11 machines and I use a Raspberry Pi Model 3B as the master node. My master node typically experiences high CPU and memory usage, hovering around 40% CPU and 70% memory utilization, hence I highly recommend tainting your master node to prevent workloads to be scheduled on it, unless you are only running a single-node k3s cluster on a Raspberry Pi 4.
$ kubectl taint nodes myserver node-role.kubernetes.io/master=true:NoScheduleReplace myserver with your k3s server node NAME shown in the kubectl get nodes output.
Optional labels
If you have noticed, other than master, the other nodes have <none> as their role. This is because k3s by default does not label the agent nodes with the worker role, which k8s does. I prefer to label the agent nodes as worker just to make the visual experience as close as possible to k8s.
kubectl label node mynodename node-role.kubernetes.io/worker=''Replace mynodename with the hostname of your nodes.
Final cluster view with optional changes
With that change, the output of kubectl get nodes becomes:
$ sudo kubectl get nodes
NAME   STATUS                     ROLES    AGE    VERSION
k6     Ready                      worker   109d   v1.18.6+k3s1
k4     Ready                      worker   109d   v1.18.6+k3s1
k7     Ready                      worker   109d   v1.18.6+k3s1
k2     Ready                      worker   109d   v1.18.6+k3s1
l2     Ready                      worker   109d   v1.18.6+k3s1
l1     Ready                      worker   28h    v1.18.6+k3s1
k1     Ready,SchedulingDisabled   master   109d   v1.18.6+k3s1
k3     Ready                      worker   109d   v1.18.6+k3s1
l4     Ready                      worker   23d    v1.18.6+k3s1
k5     Ready                      worker   109d   v1.18.6+k3s1
l3     Ready                      worker   96d    v1.18.6+k3s1
Notice the SchedulingDisabled status on the server node and the worker role assigned to all other nodes.
What's next?
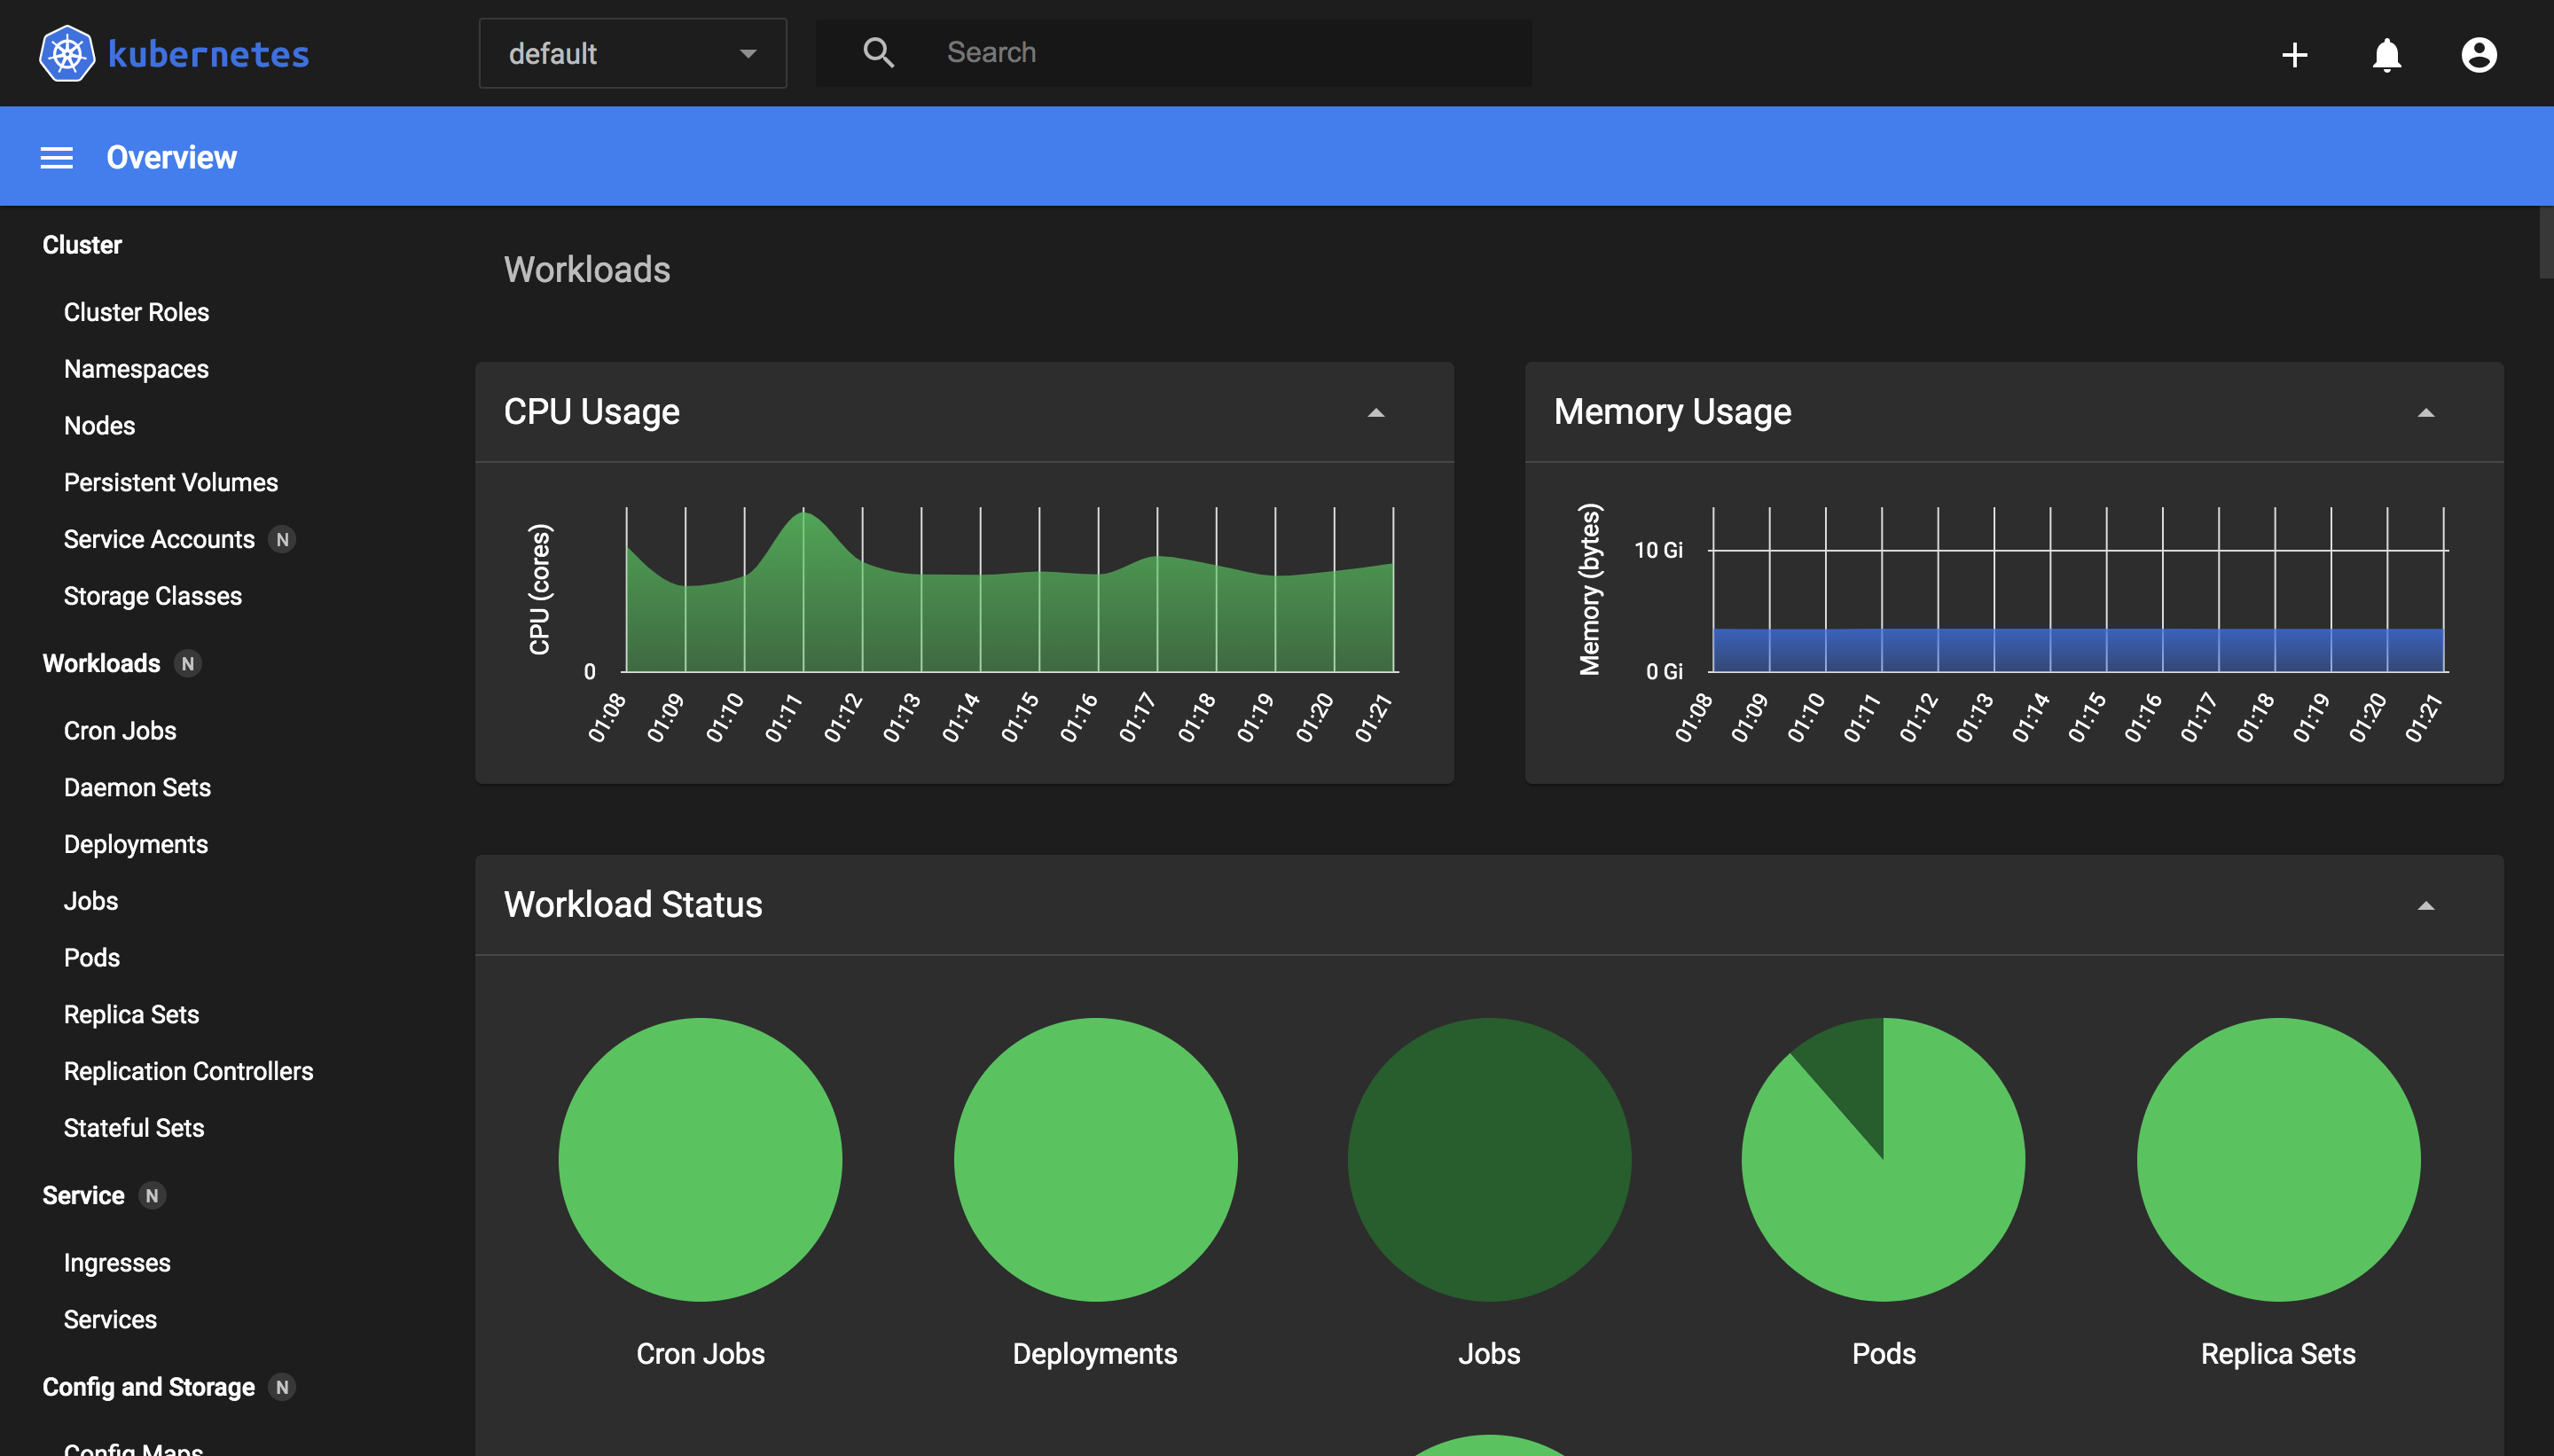
I'll write a short walkthrough on deploying what I feel is the first app any clsuter should deploy for the sake of ease of management and visibility into the cluster, the Kubernetes Dashboard.
Following which, I'll be introducing applications that I found to be useful in my daily life and also walkthrough the process for configuring them deploying them on Kubernetes.